Affiliate Registration and Approval Guide
Overview
The Affiliate (Affiliate Marketing) feature allows businesses to build a network of brand ambassadors, helping to introduce products, create orders, and receive commissions automatically.
The Affiliate process is designed with a two-way model:
- Users / Ambassadors operate on the Mini App
- Administrators configure, approve, and reconcile on the Admin Web
The entire process consists of 5 main steps, from system setup to commission processing.
Overall Affiliate Implementation Flow
Set up Affiliate groups & ranking tiers
Configure commissions by category or product
Configure Affiliate mechanism & policies
Registration – Approval – Affiliate ambassador management
Reconciliation & commission processing
Step 1: Set Up Affiliate Groups & Ranking Tiers
Administrators access Affiliate → Group Settings to:
- Create Affiliate groups
- Set up ranking tiers for each group
- Configure:
- Tier name
- Minimum revenue
- General commission rate (%)
- Active status
Ranking tiers help classify Affiliates by performance and automatically upgrade when revenue targets are met.
Step 2: Configure Commissions by Category & Product
At Ranking Tier Details, administrators can:
- Set up individual commissions for each category
- Set up individual commissions for each product
Commission priority order:
Product → Category → General tier commission
Detailed commission configuration helps optimize policies for each product group, driving more effective revenue. This mechanism enables flexible promotion of strategic products.
Step 3: Configure Affiliate Mechanism & Policies
At Affiliate → General Settings, administrators configure:
- Commission withdrawal limits
- Applicable Affiliate model
- Commission processing time
- Enable / disable status of the Affiliate system
- Automatic or manual ambassador approval policy
You should carefully set up operational mechanisms before opening Affiliate registration to ensure stable system operation. This is the "operational rules" layer governing the entire Affiliate system.
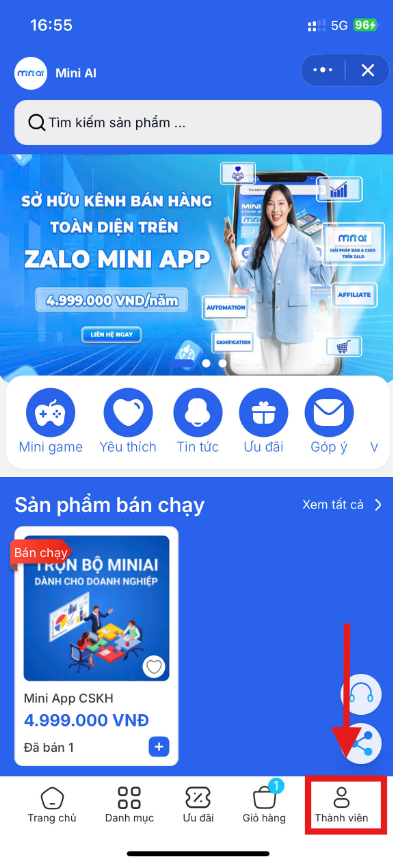
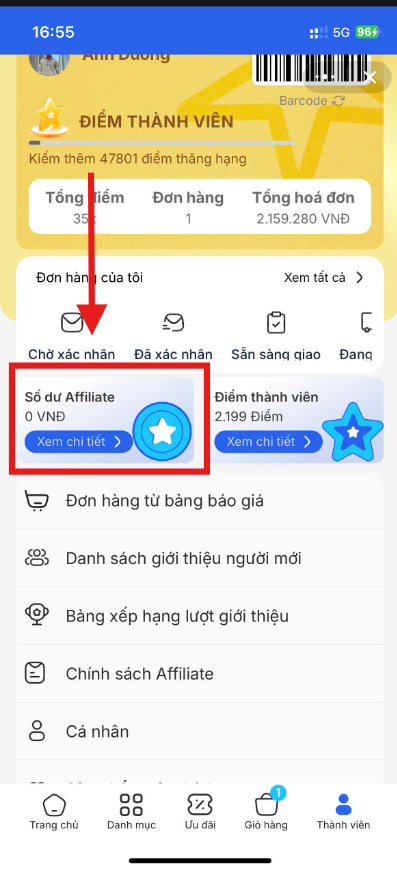
Step 4: Affiliate Registration & Approval
4.1. Affiliate Registration on Mini App
Users access the Affiliate Page on the Mini App and:
- Click Submit Request
- Fill in information:
- Which organization are you from?
- How did you learn about the system?
- Submit the registration request
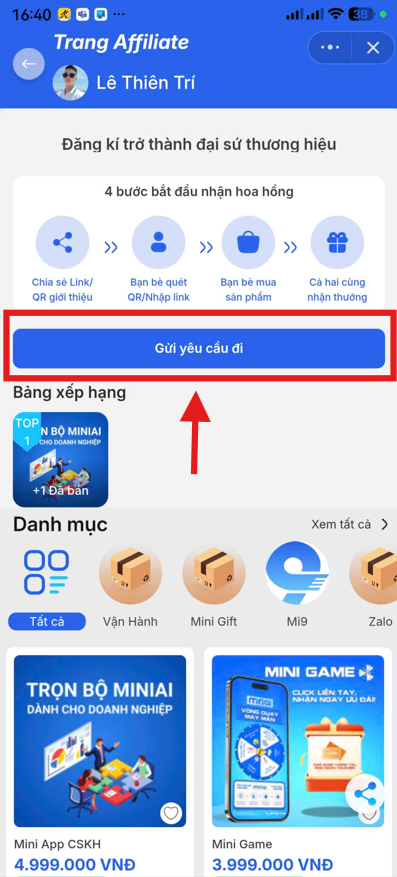
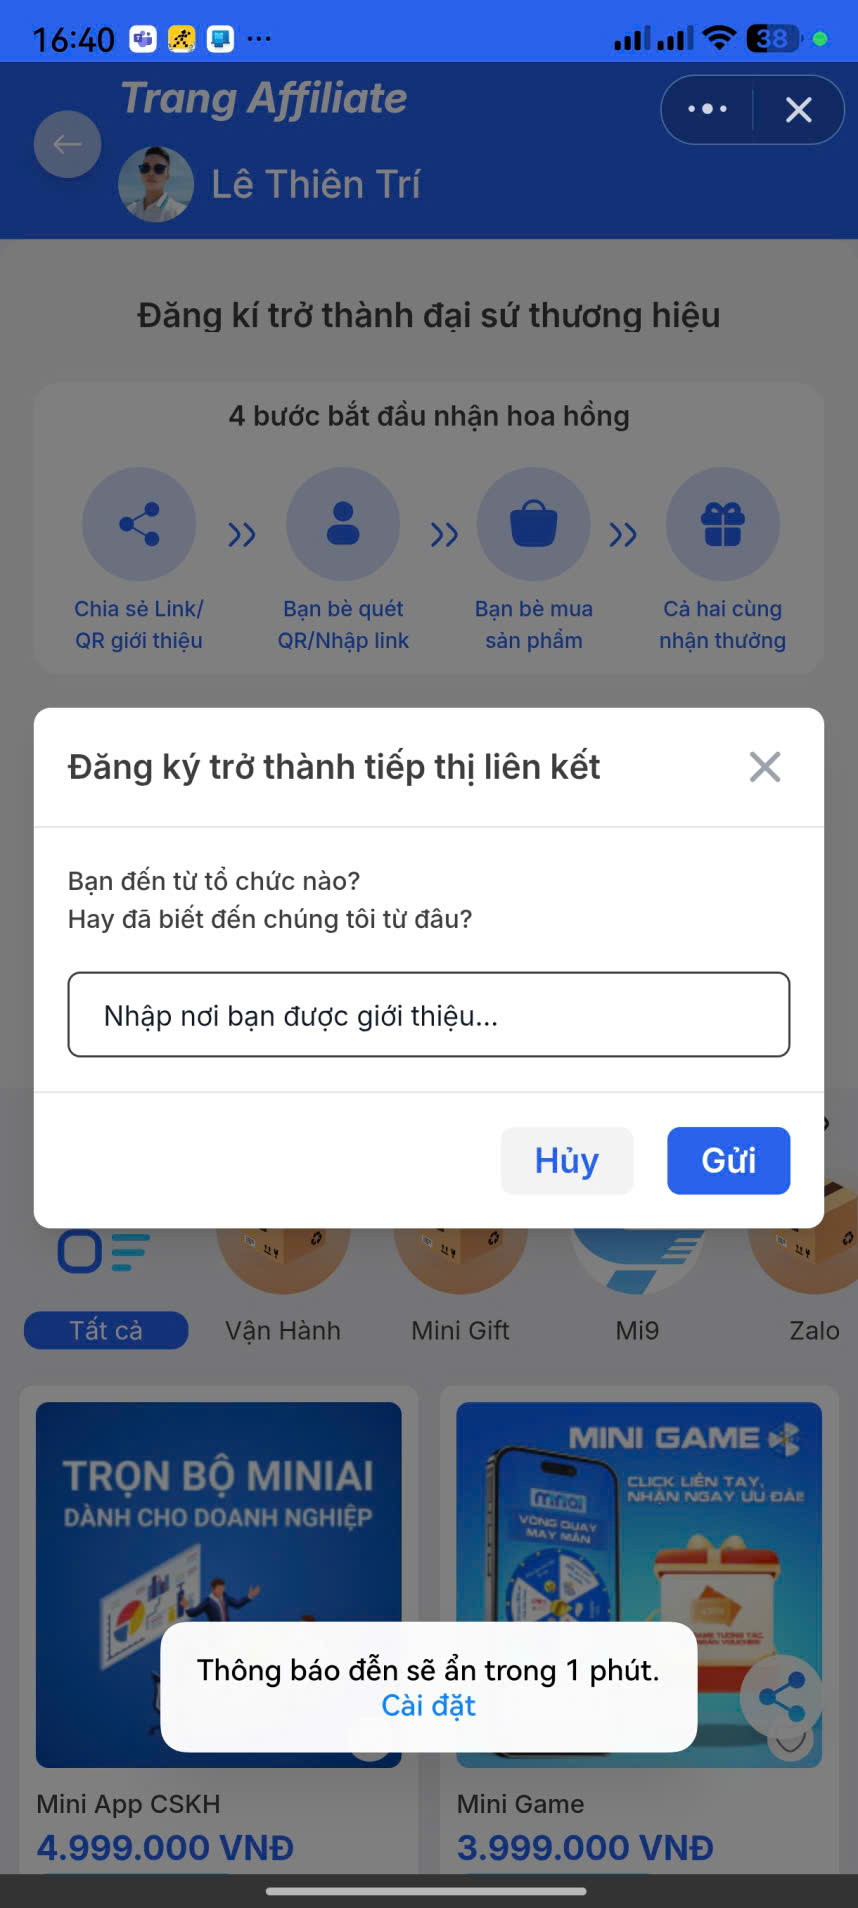
After submission, the request will change to Pending Approval status.
4.2. Affiliate Approval on Admin
Administrators access Affiliate → Ambassador List → Pending Approval Requests.
Here you can:
- View More information about the Affiliate registration
- Approve or Reject the request
4.3. Selecting a Commission Group During Approval
When clicking Approve, the system requires the administrator to:
- Select a commission group for the Affiliate:
- Default group
- Partner group
- VIP / BD / Network group…
After confirmation:
- The Affiliate is activated
- Order tracking & commission recording begins
4.4. Managing Approved Affiliates
Approved Affiliates will be displayed in the All Members tab, including:
- Commission group
- Current rank
- Number of orders
- Revenue
- Profit
Step 5: Affiliate Commission Reconciliation & Processing
When an Affiliate withdraws commission on the Mini App, the system records it at:
Affiliate → Commission Reconciliation History
Administrators can:
- Filter by date, status
- Export to Excel
- Confirm or reject payment
- Upload transfer receipts
- Add internal notes
After confirmation, the system updates the status to Paid.
Affiliate Process Summary
The Affiliate system allows businesses to:
- Standardize the affiliate marketing process
- Manage ambassadors transparently
- Maintain flexible commission policies
- Provide clear reconciliation & payment
- Easily expand the Affiliate network
You should carefully configure groups, tiers, and commissions before opening Affiliate registration to ensure stable operations. Administrators should regularly monitor and optimize commission policies to maintain motivation for ambassadors, thereby driving more effective sales.